

How to Assemble Your Keurig Coffee Maker Parts Like a Pro
How to Assemble Your Keurig Coffee Maker Parts Like a Pro
Keurig coffee makers have become a staple in many households, offering convenience and a variety of beverage options. To ensure your Keurig functions optimally, it’s essential to know how to assemble its parts correctly. Follow our step-by-step guide below to assemble your Keurig coffee maker like a pro.
Step 1: Unbox and Inspect Parts
Upon unboxing your Keurig coffee maker, carefully inspect all parts to ensure nothing is damaged or missing. Common components include the water reservoir, brew basket, K-Cup holder, and drip tray.
Step 2: Water Reservoir Setup
Place the water reservoir at the back of the Keurig machine and ensure it is securely in place. Fill the reservoir with water up to the ‘max fill’ line. This will ensure you have enough water for several brews before needing to refill.
Step 3: Insert the Brew Basket
Open the brew basket compartment and insert the brew basket securely. This is where the K-Cup will go during the brewing process. Make sure it clicks into place.
Step 4: K-Cup Holder Placement
Insert the K-Cup holder into the designated slot. This is where you will place your K-Cup coffee pod for brewing. Check that it is securely fitted.
Step 5: Drip Tray Adjustment
Slide the drip tray into place below the brew basket. The drip tray collects any excess liquid that may drip during the brewing process. Ensure it is positioned correctly to avoid spills.
Step 6: Power On and Prime
Plug in your Keurig, power it on, and allow it to heat up. Follow the manufacturer’s instructions to prime the machine before your first use. This helps remove any air bubbles and ensures optimal brewing temperature.
Step 7: Brew Your First Cup
Place your preferred K-Cup flavor in the holder, select your cup size, and initiate the brewing process. Enjoy your freshly brewed cup of coffee!
With these simple steps, you can assemble your Keurig coffee maker parts effortlessly. Remember to clean and maintain your Keurig regularly for long-lasting performance and delicious coffee every time.
-

Exploring the Art of Precision Casting
2025-03-20 -

Premium Stainless Steel Hinges for Durable Glass Shower Enclosures
2025-03-14 -

Stainless Steel Tactile Products: Durable Solutions for Barrier-Free Environments
2025-03-12 -

Celebrating Women’s Day: Special Care for Our Female Employees
2025-03-08 -

From Design to Finished Product: The Complete Guide to Stainless Steel Precision Casting
2025-02-26 -

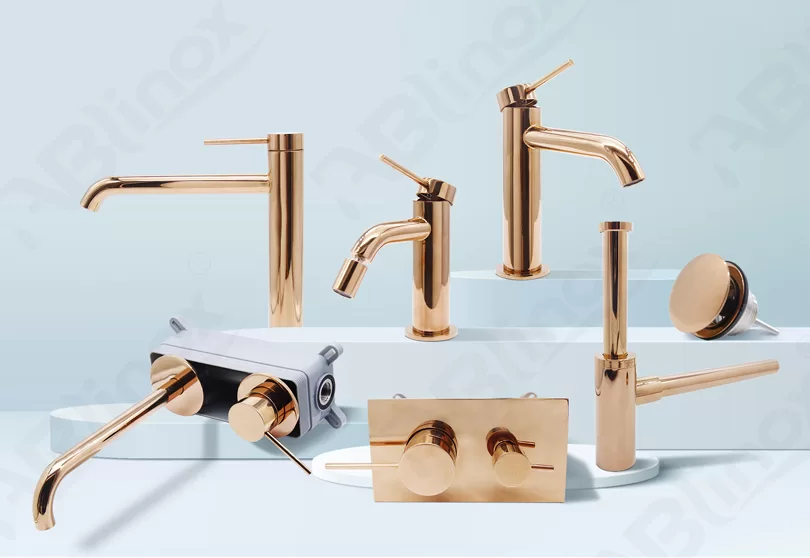
Guides To Buy Stainless Steel Sanitary Ware
2024-01-16 -

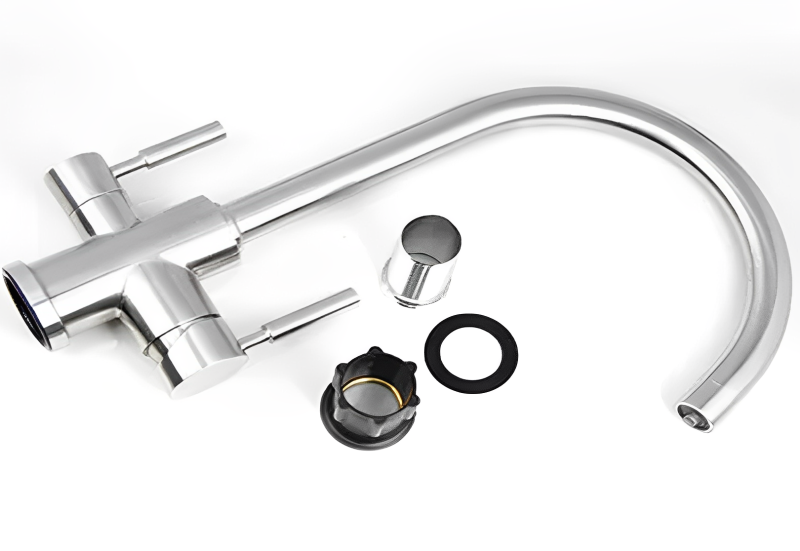
How Do We Customize SS 304 Faucets for You?
2023-10-17 -

One of the Casting Steps, Pouring
2023-07-24 -

Training for Business Expansion
2022-07-02 -

Internal Business Sharing Meeting
2022-06-20
-

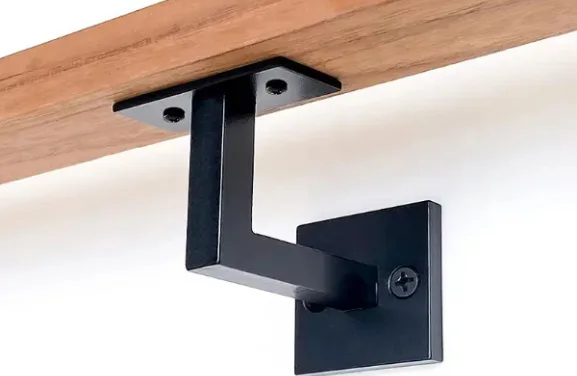
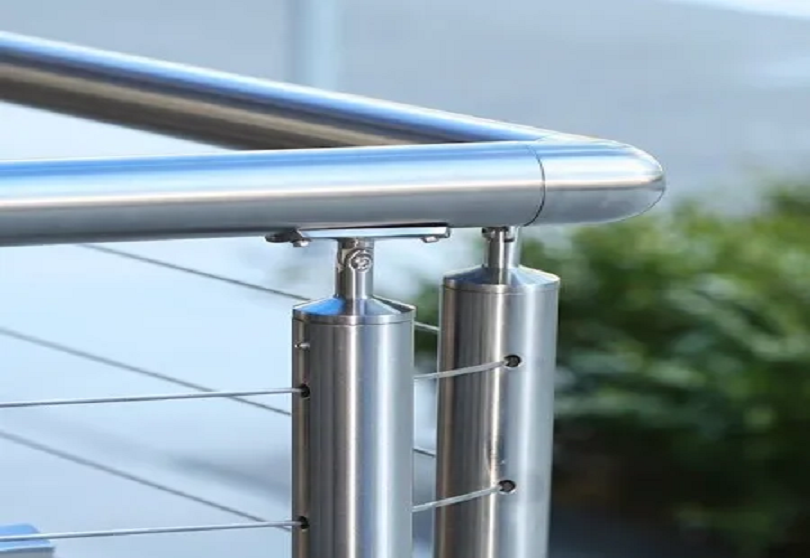
Premium Stainless Steel Handrail Fittings from a Trusted SS Casting Manufacturer
2025-10-29 -
Premium Stainless Steel Balustrade Accessories and Boat Hardware for Lasting Performance
2025-10-29 -
High-Performance Stainless Steel Hardware for Marine and Architectural Applications
2025-10-29 -
High-Quality Stainless Marine Hardware and Balustrade Accessories
2025-10-23 -
High-Quality Stainless Steel Marine Hardware and Casting Solutions
2025-10-23 -

Premium Stainless Steel Casting Hardware for Architecture and Home Design
2025-10-09 -
High-Quality Stainless Steel Railing and Marine Accessories for Modern Applications
2025-10-09 -
Precision Stainless Steel Casting and Marine Hardware Manufacturer
2025-10-09 -
Precision Stainless Steel Casting and Hardware Solutions for Modern Living
2025-10-09 -
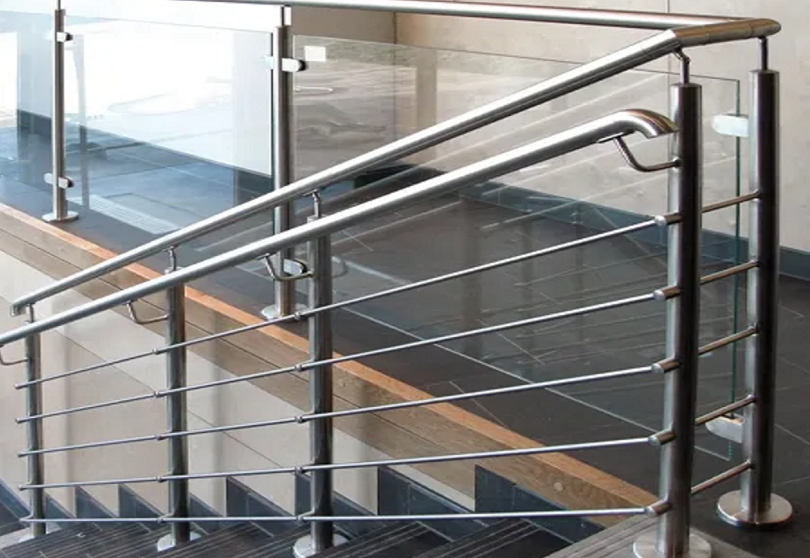
Premium Stainless Steel Railing and Marine Accessories for Lasting Performance
2025-10-09
