

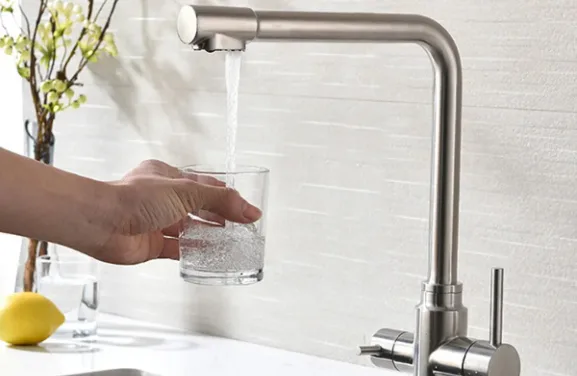
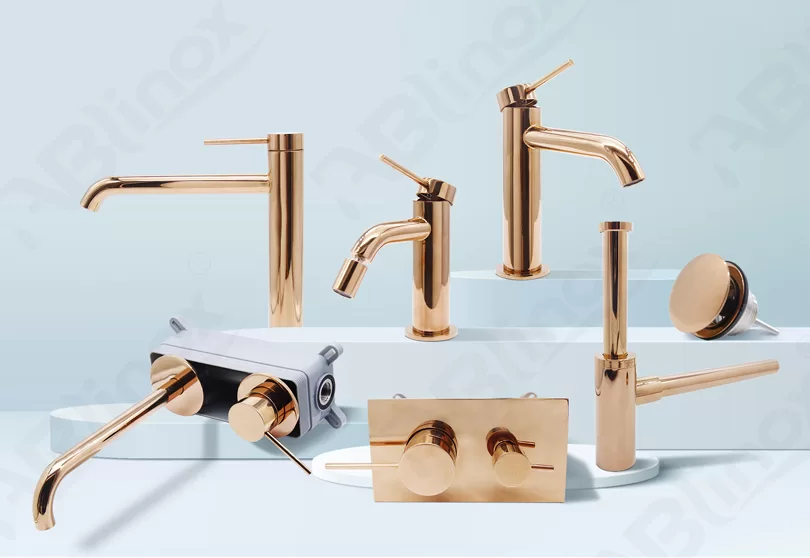
How to Remove a Moen Single Hole Faucet – Step-by-Step Guide
How to Remove a Moen Single Hole Faucet – Step-by-Step Guide
Are you looking to upgrade your bathroom or kitchen and need to remove your Moen single hole faucet? We’ve got you covered with a comprehensive step-by-step guide to make the process a breeze.
Preparation
Before starting, gather the necessary tools: an adjustable wrench, pliers, screwdriver, and a cloth to protect the surface. Turn off the water supply to the faucet to avoid any accidents.
Step 1: Disconnecting Water Supply
Locate the shut-off valves under the sink and turn them clockwise to stop the water flow. Then, turn on the faucet to release any remaining water.
Step 2: Removing the Handle
Use an Allen wrench to loosen the set screw on the handle. Once loose, pull the handle off the faucet.
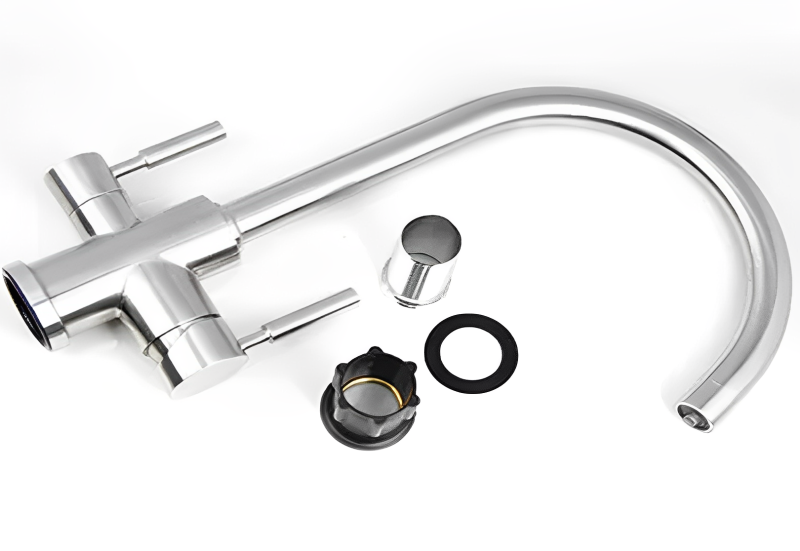
Step 3: Removing the Faucet
Using an adjustable wrench, loosen the nuts that secure the faucet to the sink. Carefully lift the faucet assembly and any additional components off the sink, and clean the area.
Step 4: Inspecting for Damage
Take this opportunity to inspect the faucet and sink for any damage or wear. Replace any worn-out parts as necessary before installing your new faucet.
Step 5: Wrapping Up
Dispose of the old faucet responsibly and clean the area thoroughly before installing your new Moen single hole faucet.
With these simple steps, you can easily remove a Moen single hole faucet and prepare for a fresh installation. Stay tuned for our next blog post on installing a new faucet!
-

Exploring the Art of Precision Casting
2025-03-20 -

Premium Stainless Steel Hinges for Durable Glass Shower Enclosures
2025-03-14 -

Stainless Steel Tactile Products: Durable Solutions for Barrier-Free Environments
2025-03-12 -

Celebrating Women’s Day: Special Care for Our Female Employees
2025-03-08 -

From Design to Finished Product: The Complete Guide to Stainless Steel Precision Casting
2025-02-26 -

Guides To Buy Stainless Steel Sanitary Ware
2024-01-16 -

How Do We Customize SS 304 Faucets for You?
2023-10-17 -

One of the Casting Steps, Pouring
2023-07-24 -

Training for Business Expansion
2022-07-02 -

Internal Business Sharing Meeting
2022-06-20
-

Premium Stainless Steel Handrail Fittings from a Trusted SS Casting Manufacturer
2025-10-29 -
Premium Stainless Steel Balustrade Accessories and Boat Hardware for Lasting Performance
2025-10-29 -
High-Performance Stainless Steel Hardware for Marine and Architectural Applications
2025-10-29 -
High-Quality Stainless Marine Hardware and Balustrade Accessories
2025-10-23 -
High-Quality Stainless Steel Marine Hardware and Casting Solutions
2025-10-23 -

Premium Stainless Steel Casting Hardware for Architecture and Home Design
2025-10-09 -
High-Quality Stainless Steel Railing and Marine Accessories for Modern Applications
2025-10-09 -
Precision Stainless Steel Casting and Marine Hardware Manufacturer
2025-10-09 -
Precision Stainless Steel Casting and Hardware Solutions for Modern Living
2025-10-09 -
Premium Stainless Steel Railing and Marine Accessories for Lasting Performance
2025-10-09
